
We found some great ones on Etsy (of course!):
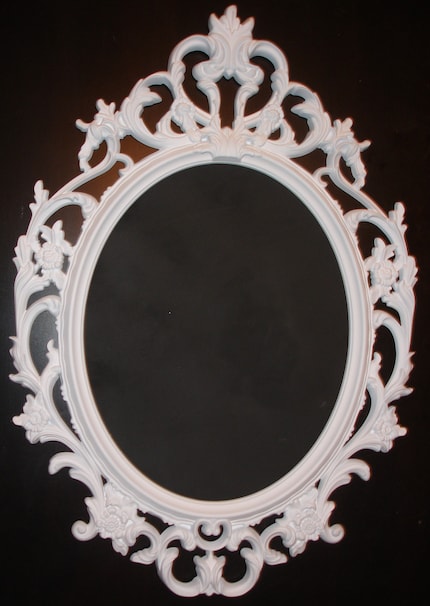
From Polkadots n' Pinstripes' Shop
Large White Vintage French-Inspired Framed Chalkboard
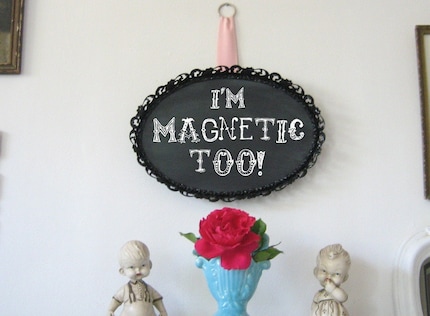
Chalkboard Magnetic Memo Board Oval Metal Frame from Shabby Vintage Mom's Shop:
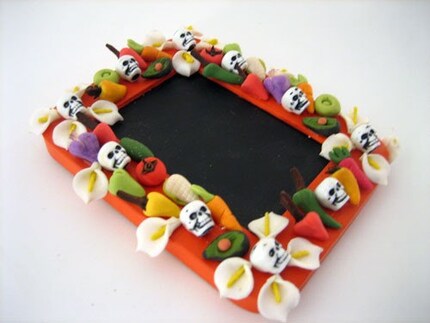
Mini Day of the Dead Chalkboard in Orange from Kitty McFar's Shop:
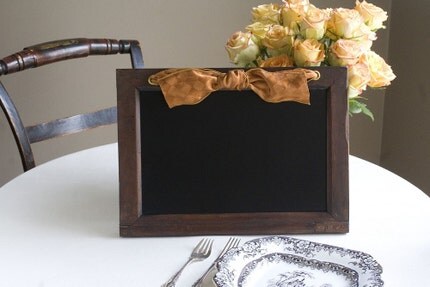
Antique Framed Chalkboard from Rowan's Room's Shop:
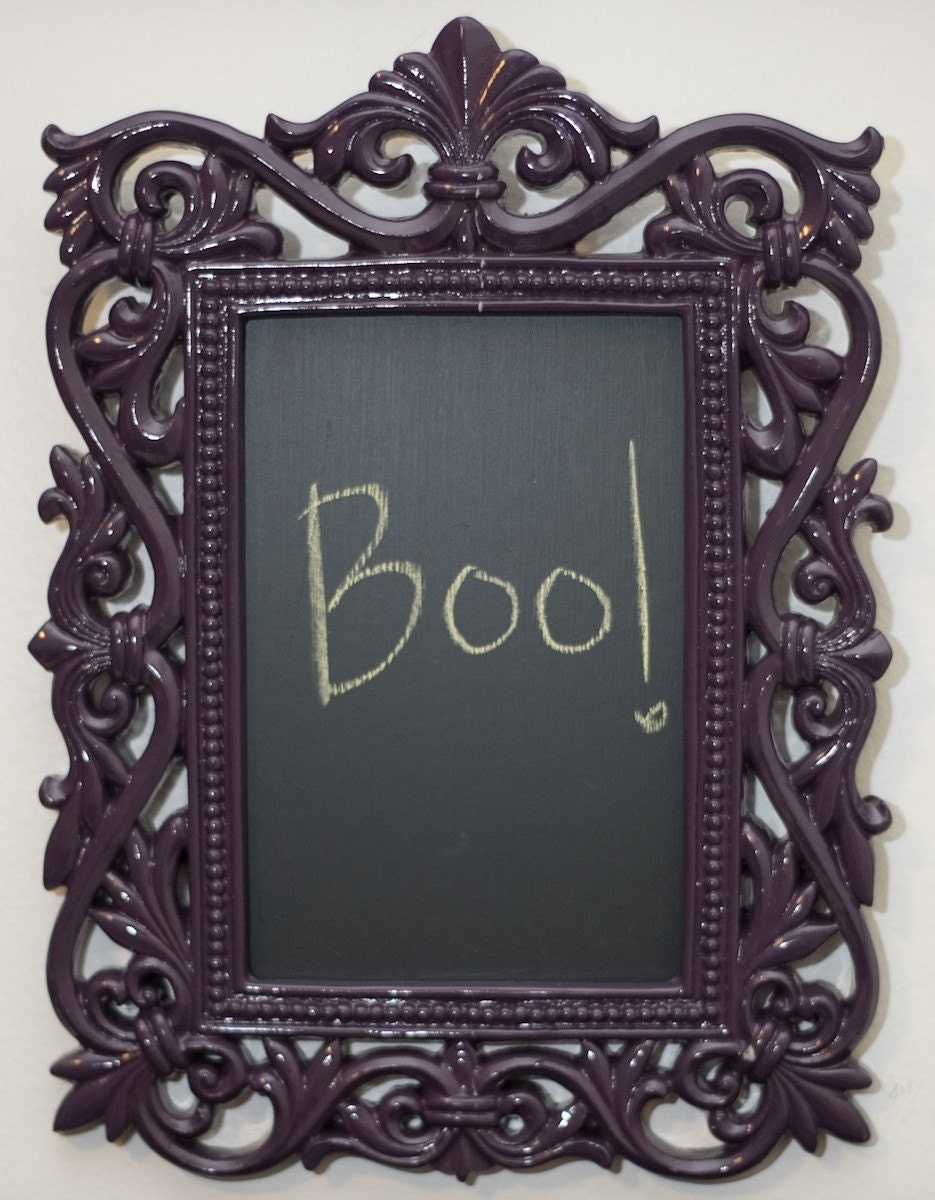
Purple Ornate Chalboard Frame from Nonookyes's Shop:
And this one...so cute! From K9Gifts.com:

Actually, we're told this is a fairly easy D.I.Y. project - just buy some frames at Goodwill or a garage sale! We've included some instructions below. Send us pics if you decide to do it and we will feature them!
Supplies
Large vintage or secondhand frame
Chalkboard paint
Pencil
Masking or painter's tape
Nails, hammer, paintbrush/small roller
Instructions
Place the empty frame on the wall in the exact place you would like to have your chalkboard. Have someone hold it very steady, or actually nail it on the wall. Using a pencil, trace the inside perimeter of the frame directly onto the wall. Remove the frame from the wall.
The next step is to tape the area off. Place tape along the lines you have drawn, not flush against the pencil marks, but about an inch away. This will create a space in the same shape, but about a full inch larger altogether than the pencil outline. Erase the pencil marks.
Place the frame back over the area, and make sure you can't see any tape from any angle. (The boundary of the tape now represents the unpainted wall, and what you will be able to see once the project is complete.) If necessary, adjust the tape lines so they are covered completely by the frame. If this is difficult, your frame's edges may be too thin/narrow.
Happy Crafting!
xo SJE


No comments:
Post a Comment